Often the reason for refusing to reinstall the OS is the inability to transfer all important data to another medium and/or a large amount of work in the post-installation period. Last but not least is a software problem. To return Windows performance to its previous level, it will take... quite a bit of time to visit all relevant sites. Codecs, video players, archiver... fortunately, there is an excellent specialized resource for install programs on windows 8 in one click
We're talking about a project Ninite.com, which provides the opportunity to assemble your own configurator with “silent” (automatic) installation of the most popular and necessary programs. There is a version for Linux, and even a paid Pro version, with the ability to install programs on several computers or more fine tuning applications. The categories of software are very diverse - browsers, instant messengers, online storage and even a Java machine. In order to give your Windows 8 a special style, then welcome to http://7themes.su/load/windows_8_themes/20. Here you can download a wide variety of themes for G8 to suit the most sophisticated tastes. These are full-fledged “themes” that change the entire GUI, rather than just changing your desktop wallpaper.
In order to compose your installation package, just select necessary programs from the list and click "Get Installer":
Check the boxes:
After which the installation will begin:
On the right are icons of those programs that were included in the compilation:

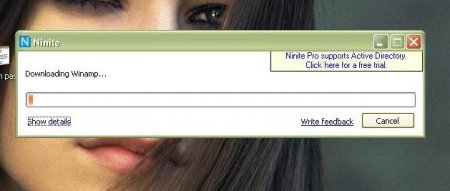
First, the necessary applications will be downloaded, then they will be installed, without a single action or click on your part:
Installation completed:

Desktop shortcuts:

All. No pop-ups or searching for the latest versions, no long downloads and no confusion with installed programs. By the way, the paid version has the function of updating already installed software without user action:

A small monitoring of the process on several computers is also implemented.
Initially, applications were developed only for mobile gadgets. However, with help, it became possible to install them on computers (Windows 7, 8, 10).
After the emulator is installed on your PC, go to the Play Store and find the right application, install it. This guarantees you a high-quality installation, without viruses. Below is the complete installation process. Each application on the site describes a step-by-step process for installing a specific application.
!!! Attention!!!
Screenshots of games and applications were taken in Bluestacks 2 - practically no different from Bluestacks 3.
The installation process for the Bluestacks 3 emulator itself is below.
Let's launch installation file, which was downloaded.
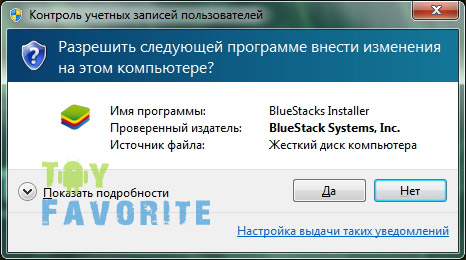
Allow the program to make changes on the computer.
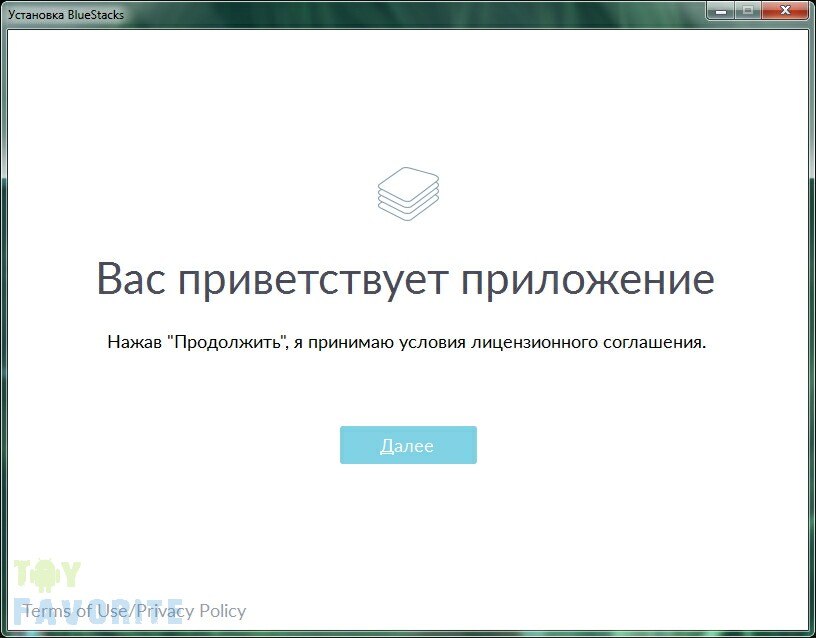
The installation process of the program begins. Click on the button - Install now.

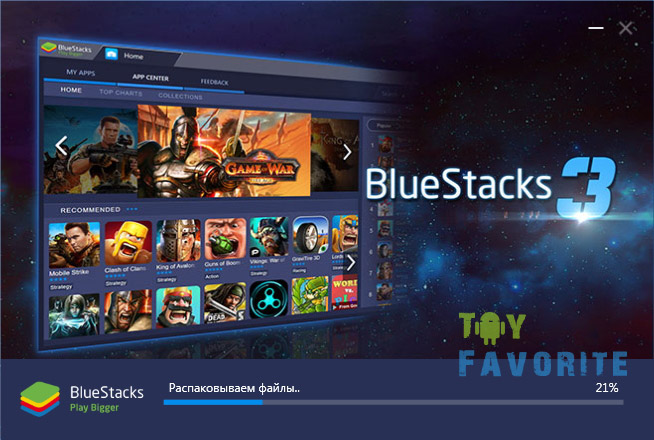
The program files are unpacked.
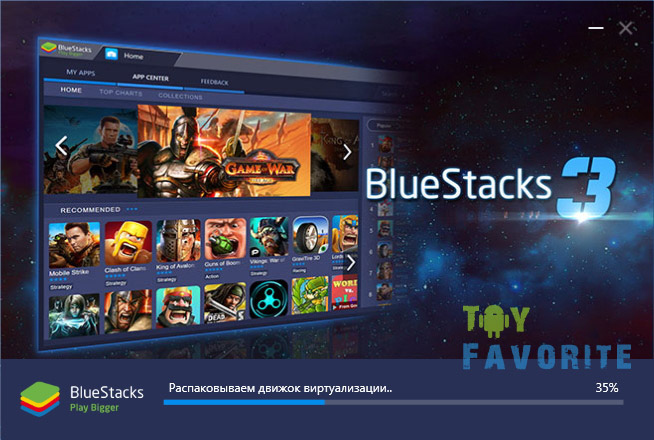
The rendering engine is unpacked. A few minutes and the process is complete.
Bluestacks 3 welcome window. If you want to get acquainted with the functionality, click on the arrow on the right.

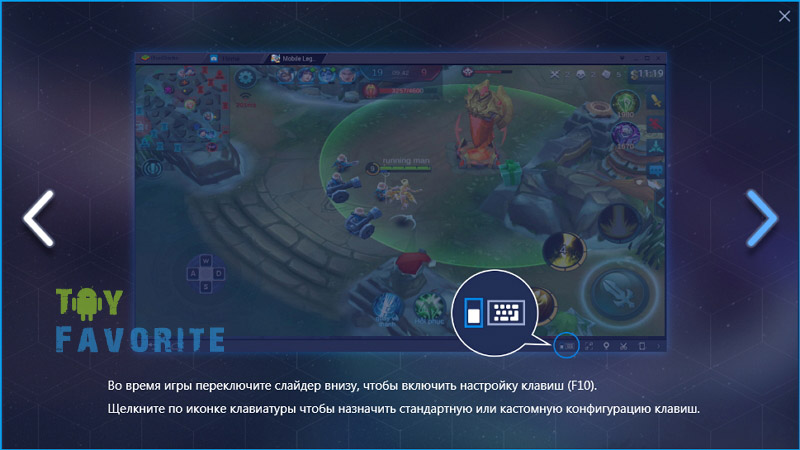
The functions are shown in the screenshot.

The functions are shown in the screenshot.

The functions are shown in the screenshot.

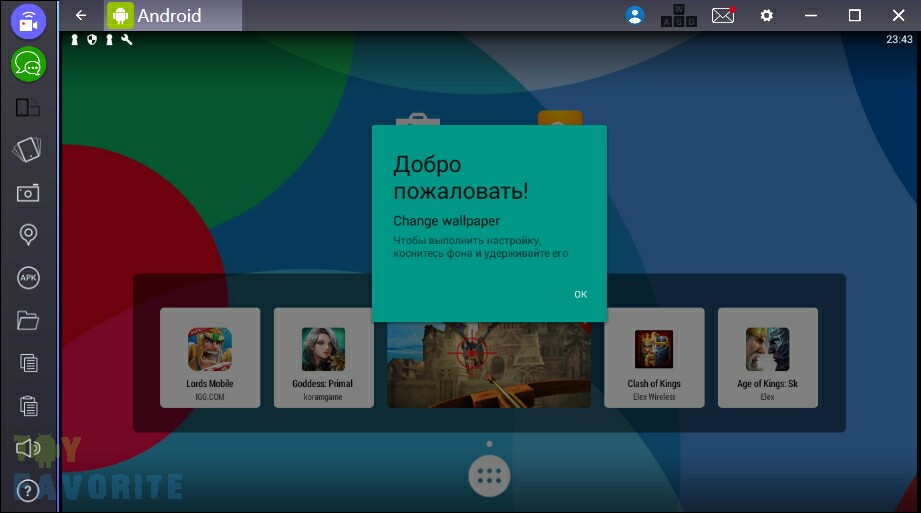
We close the welcome window and a window appears asking us to clarify geodata. At your discretion. But it’s better to make sure that the time on the computer matches the time in the program.

IN top menu account icon.
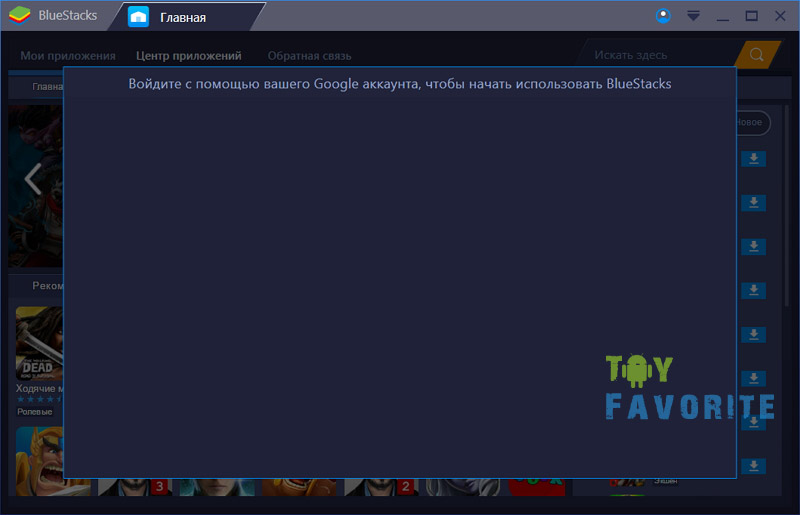
When installing on Windows 7, it was not possible to open an account right away. Reboot the program. There was no such problem on Windows 8.
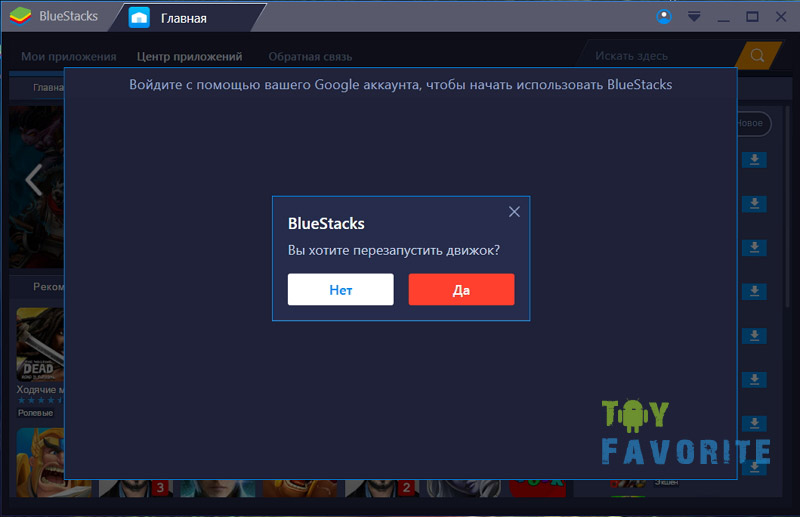
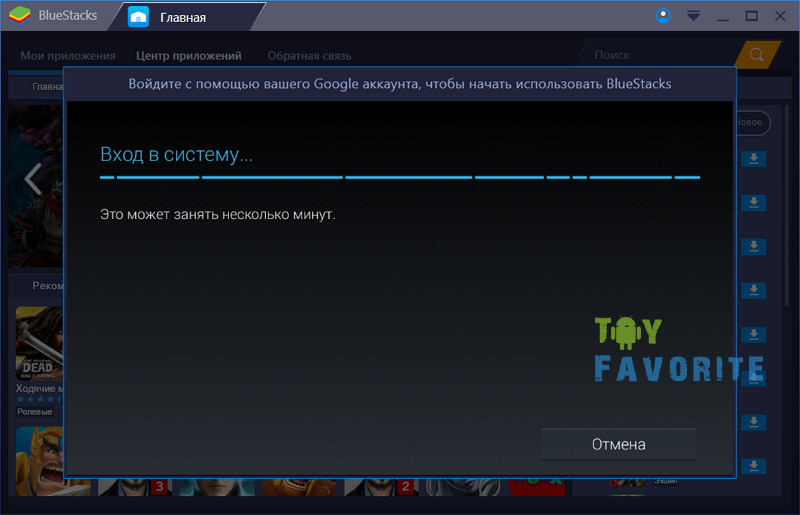
The program opens and the visualization engine restarts.

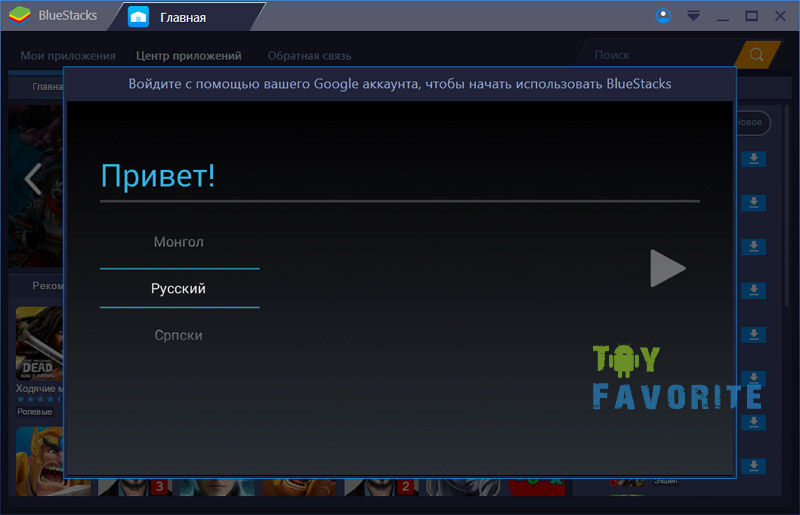
Choose a language.
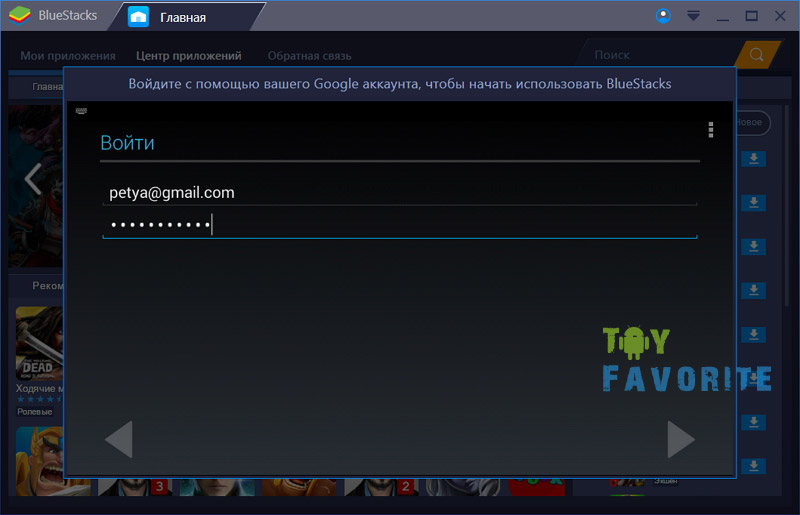
Enter the details of your pre-registered account. If it is not there, then follow the link and register.

We enter your account information into the program.
We agree with the privacy policy.
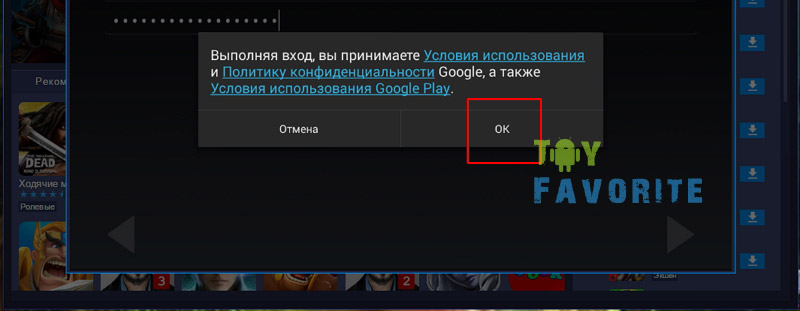
Log in to the program to access the Play Market.
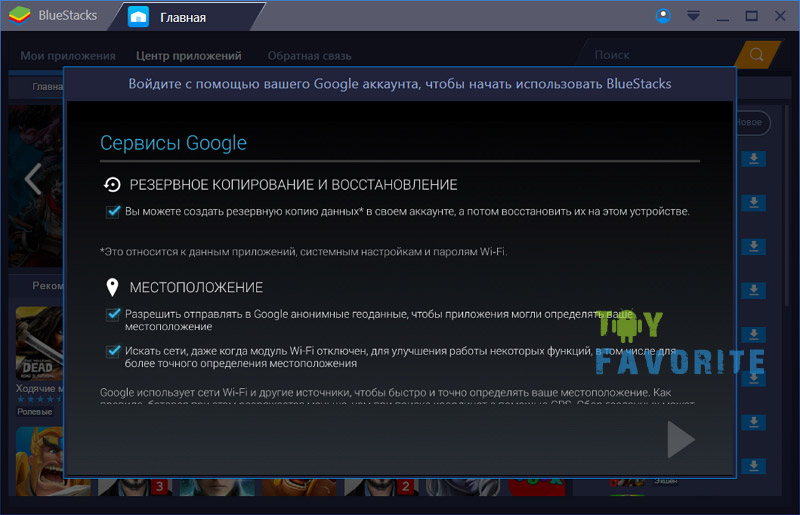
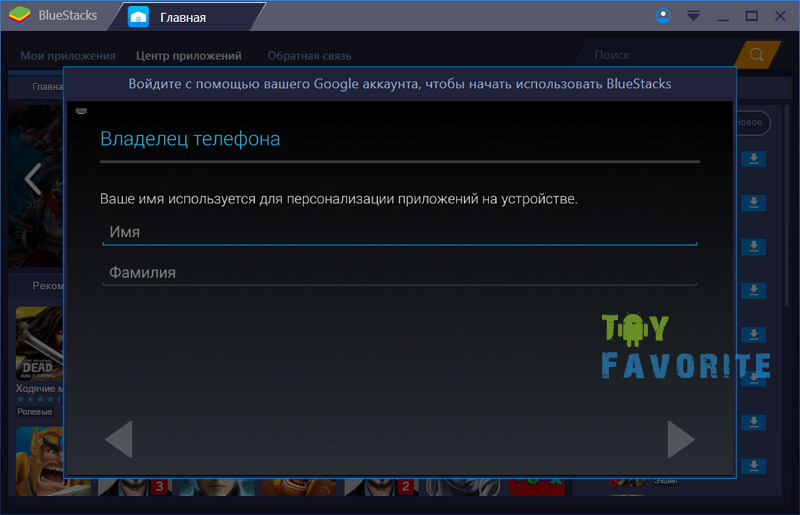
Select the required checkboxes. At your discretion.
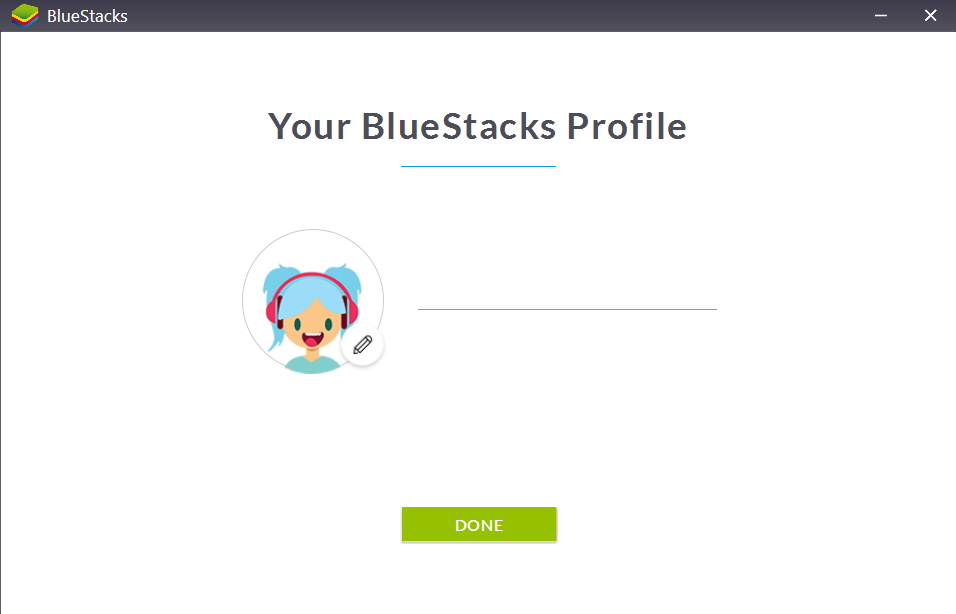
We enter the data that is recorded in our account to personalize applications.
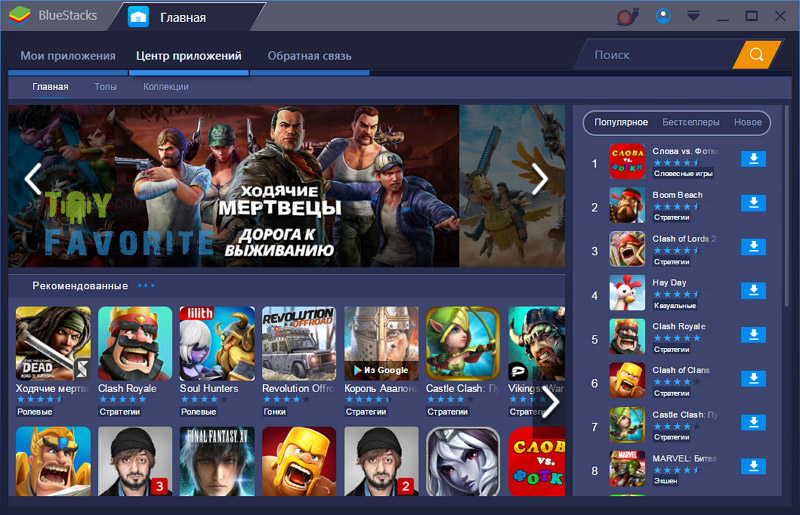
Ready! Before us Play Store with top games, free and paid. For every taste! Top right - search. We find the application we need.
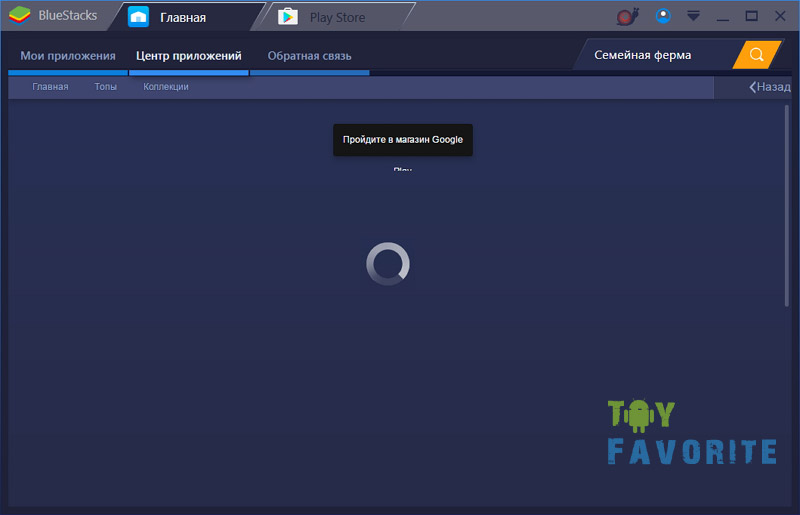
We are transferred to the store with this application. Install and let the phone charge 😉
If you have a pre-downloaded ark file, you can add it to the player. Good luck!

If you have Bluestax 2. Installation.
Download the installation file and run it


The installation of the program begins
Leave the checkboxes unchecked - install

The installation of program components begins. May take several minutes.

Installation completed.

If you do not have an account at https://www.google.ru/, you need to register. If there is, enter your username and password.


Synchronization

Greetings
BlueStacks 2 start window
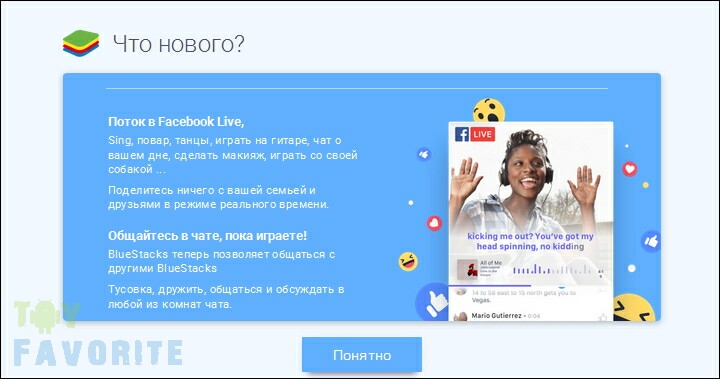
Notification about new products. BlueStacks TV falls out on the side
We enjoy using BlueStacks 2!
Good day.
There are often situations when several users work on one computer at once. And it often happens that some of them constantly install different things on the device software, not only “opening the door” for viruses, but also simply clogging HDD. The seventh version of the Microsoft operating system provides several tools that allow you to limit the possibilities described above. In this article I will tell you how to prevent other users from installing programs on Windows 7. Believe me, this move will significantly increase safety.
One of the most simple ways restricting the movements of other users is the use group policies. To achieve the desired effect, we perform several actions:
This will completely prohibit the installation of any software on the unit. To return everything to its place, you need to toggle the checkbox back. Another effective way is to reinstall the operating system and first format the main disk.
Ban a specific account( )
Windows x64 also provides the ability to ban a specific user. To do this you need to take several steps:

Parental control( )
As you can see, this makes it possible to quickly and easily limit the installation ability of an ordinary user.
Registry Editor( )
An equally effective way is to use “ Registry Editor" Where is this tool located and how to use it? It's simple:

Afterwards, no software downloaded automatically for free from the Internet will be able to be installed.
It is worth noting that this tool allows you to prohibit the installation of any applications without a password.
It is important to take into account that depending on the assembly, some points may differ slightly. For example, the “Maximum” and “Home Basic” versions are different. Despite this, users will definitely understand the sequence of actions.
Due to the fact that the operating system itself provides a lot of tools, additional software on this topic, although it was developed, still did not receive mass approval, and therefore is simply not popular. At the same time, we did not consider turning it off using the program.
If suddenly after reading the article you still have some questions, you can watch a video on this topic.
I hope you achieve your desired goals. Subscribe and tell others.
The problem is that icons for newly installed applications are no longer automatically added to the home screen. Therefore, you need to know where to look for them and how to manually attach them to home screen– or in the taskbar – for quick access.
Why this innovation? The problem is that in the first version, traditional desktop programs added many tiles to the Start screen during installation - take, for example, Office and Visual Studio. There were no such difficulties with Metro applications - they are allowed to add only one tile to the Start screen upon installation.
Microsoft developers seem to have “fixed” the problem in the exact opposite way: now no icons appear on the Start screen at all when installing applications, be it desktop programs or Metro applications.
Meanwhile, most users probably expect to find fresh installed programs on the Start screen or taskbar for quick access. Unfortunately, you will have to secure them there yourself.
Here's how it's done.
First, install the application - any one, desktop or . In the latter case, by the way, a notification about installing a new application will appear.

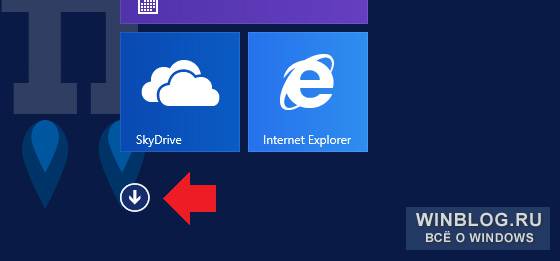
But no new tiles will appear on the home screen. So you need to open the Apps screen, which is hidden behind the Start screen. To get there, swipe up from the bottom edge of the screen (with touch controls) or move the mouse cursor to the bottom left corner of the start screen and click on the arrow that appears.
The Applications screen opens.

Near recently installed applications“NEW” appears. But even so, finding new programs can be difficult, especially if you already have many applications installed, like I have, for example.
If you remember the name new program, you can use the search in the right top corner Applications screen. True, some programs have rather illogical names: Visual Studio Express for Windows Phone, for example, for some reason it is called “VS Express for Windows Phone”. Another way to search is to sort the list of applications by installation date (Recently installed), so that the most recently installed programs appear at the top of the list.

To pin an app to the Start screen or taskbar, select it (with your mouse - using right button) and select “Pin to Start” or “Pin to Taskbar” in the panel that appears. Note that the latter option is not available for Metro applications.