Our recommendations will help you if you have any problems installing Windows XP. This procedure seems complicated at first glance, our article will help even beginners who decided on their own, without the help of specialists, Install Windows on your own to your computer.
What is “Windows Xpi”, “Expishka”? Windows XP is a set of programs that establish an interface between the computer and the user. You are faced with a choice - install that operating system, with which you have worked before and are more or less familiar, or install something new, for example Windows 7 / 8 or “Ten” - Windows 10.
When buying a laptop, it usually already has an OS, but models are also sold without a pre-installed system. If you purchased just such a beech, then you can decide for yourself which OS to use and install it, and you don’t have to chase the latest versions, but install “Seven” or “Ixpi”, besides, often some specialized programs work only on this operating system.
Initially you need to make backups all files (photos, documents, movies, music, pictures, etc.) to another disk partition, “D” or to any external media (external HDD, flash drive, smartphone, etc.).
What is it for? The answer is simple. At Windows installation XP, when formatting a partition, all information located on active disk C, for beginners it is always a discovery that the “Desktop” is also Disk C :)
Our advice is to always have backup copy all data on external media- This is a surefire way to store information for all occasions. For this purpose you can use external hard disk, flash drive, or upload to the cloud mail.ru or dropbox, dozens of such services have appeared.
We recommend— install the OS in a larger partition depending on the requirements of the Windows installer. For example! Windows installs freely on a 10 Gb partition, a little time passes and “clogging” occurs hard drive information stored on the desktop or installation of larger programs, games, applications. Your laptop starts to slow down and freeze. Quickly produce cleaning in such a situation you can use free program CCleaner which is fast will remove registry errors And junk files on your computer, you can download it from the official website.
Therefore, it would be better to use from 30 to 100 Gb for the system. If necessary, you can increase the size of the C drive.
Next we need bootable cd Windows XP, preferably this would be latest version operating system today, there are decent options on torrents, with all integrated updates. If you do not have one, download all the necessary updates from the official Microsoft website. Please note that the distribution must include drivers for SATA. So how to install Windows XP on a laptop?
Windows XP installation process step by step
So, you can start installation software:
1. Paste boot disk into the drive.
2. Turn on (reboot) the laptop. We go into the BIOS and set it to boot from the CD. Enter Bios by pressing the del key (or F1, F2 or F10 depending on your laptop model). When you start the laptop, on the start POST screen there is a combination (or just a key) for entering Bios.
3. In the BIOS you need to find a tab in which you can change the boot order of your laptop devices - this is the “Boot” tab. How to disable Secure Boot protection in BIOS with UEFI support.
4. Then go to the “Exit” tab and select the “Exit Saving Changes” item, thereby saving all actions, you can press F10 and Enter.
5. Restart the laptop, you will see the message “Press any key to boot from CD”. To boot from a CD, you need to press any key.
The installation process itself has begun. To begin installation, Windows will create a virtual boot partition.
We are waiting for the next window to appear.
6. Choose hard section disk for later installation.
Using the arrows, select the created partition and press “Enter”.
7. Next, the system will prompt you to format the created partition. Choose NTFS formatting, press “Enter”.
After formatting the partition is completed, the system will begin to copy everything setup files to the hard drive of your laptop. Once this process is complete, reboot your laptop.
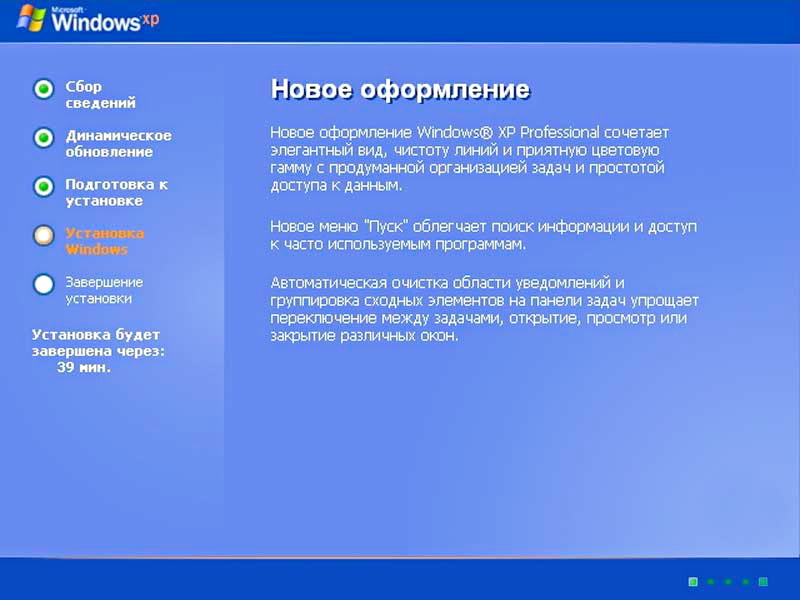
8. After the reboot, you will see welcome words from the Windows XP installer. You will also see the progress of the installation process and the time remaining until completion.
9. Setting regional standards and language. This item is not required for configuration, because everything can be configured after installing the system.
At this stage, you can set the necessary regional settings, keyboard layout and switch between languages.
Opposite the “input language” item, click “configure”
In this tab, you can set the desired language (Russian is installed by default), as well as a combination of hot keys to switch between languages (usually Ctrl+Shift or Alt+ Shift, it’s all a matter of habit).
Now click “Next”
10. Enter a name.
11. Product license key - enter the key.
12. Enter your computer name and password.
Now you enter the name of your laptop and the administrator password for subsequent login. Entering a password is especially important if your laptop is connected to a local network.
Now you need to enter a name account and password.
These are two completely different passwords. An account password is required to log in to your account. In many cases, the password is simply left blank, since you will probably never need it.
14. Configuring network parameters.
The traditional solution would be to select “Regular settings”.
This is due to the fact that in most cases at this stage the system does not yet “know” your network card. You make all network settings after installation necessary drivers for the network card of your laptop.
15. Reboot the laptop - the first launch of the new Windows XP.
17. Happening required setting system updates.
Select the “defer this action” option, because all necessary updates can be installed after there is a stable connection to the Internet.
18. Setting up this connection.
Click "skip".
19. Account setup begins.
Specify the account name for working with Windows XP.
20. Installation ends.
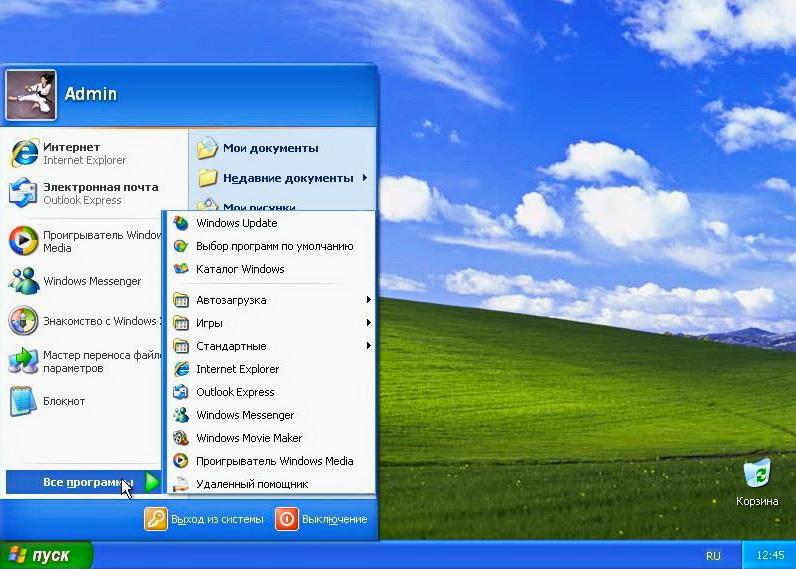
Desktop operating room Windows systems XP
Congratulations! You finished installing Windows XP on your laptop! Next will be the installation of drivers, components, codecs, necessary programs, antivirus. You will need to optimize and configure the system, create a backup copy for quick file recovery. More on this in the following articles.
How much does it cost to reinstall Windows XP on a computer or laptop in Moscow.
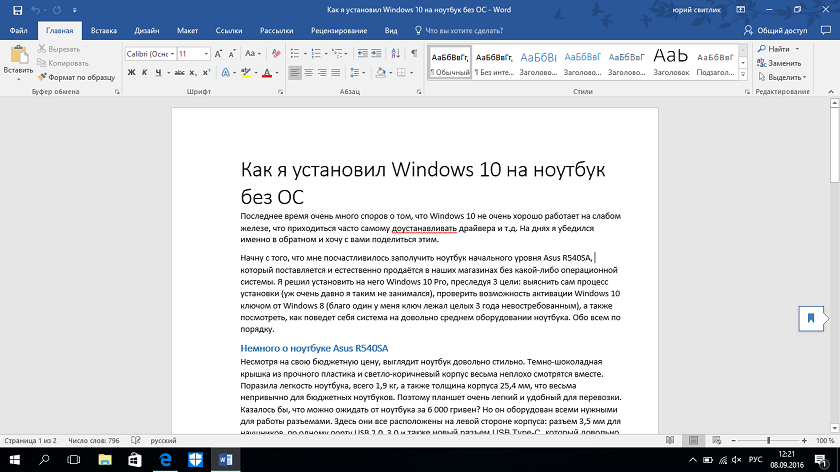
Let me start by saying that I was lucky enough to get my hands on a laptop. entry level Asus R540SA, which is supplied and naturally sold in our stores without any operating system. I decided to install Windows 10 Pro on it, pursuing 3 goals: to find out the installation process itself (I haven’t done this for a very long time), to check the possibility Windows activation 10 key for Windows 8 (fortunately, one key was lying unclaimed for 3 years), and also see how the system behaves on fairly average laptop hardware. First things first.
A little about the Asus R540SA laptop
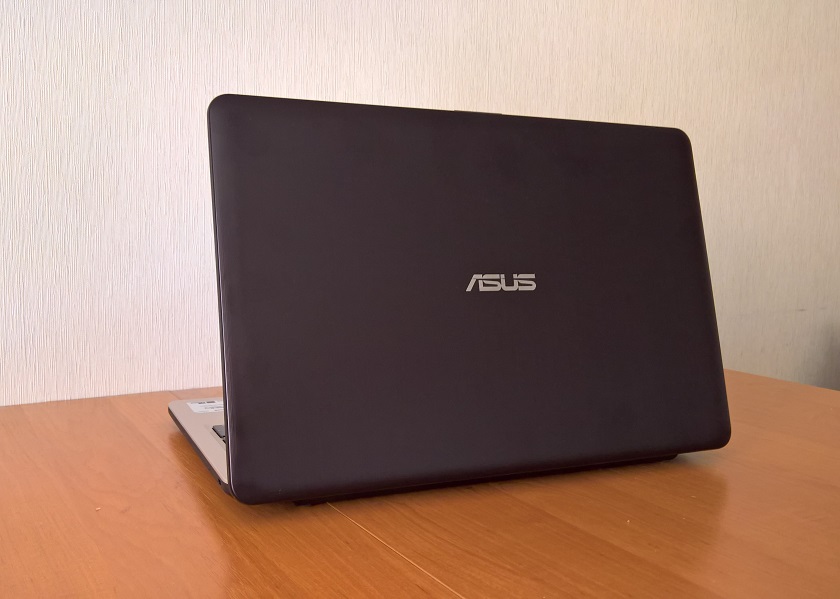
Despite his budget price, the laptop looks quite stylish. The dark chocolate lid made of durable plastic and the light brown body look very good together. I was struck by the lightness of the laptop, only 1.9 kg, as well as the body thickness of 25.4 mm, which is very unusual for budget laptops. Therefore, it is very light and easy to transport. It would seem, what can you expect from a laptop for 6,000 hryvnia? But it is equipped with all the connectors necessary for operation. Here they are all located on the left side of the case: 3.5 mm headphone jack, one at a time USB port 2.0, 3.0 and also a new connector USB Type-C, which is quite rare to find on laptops in this price segment. Nearby there are HDMI, VGA and LAN RJ-45 connectors, that is, you can connect to the Internet not only via wireless interface, since the laptop is equipped with a Wi-Fi 802.11 a/b/g/n module, but also using a wired one, which I’m sure will please many, because for some reason manufacturers have recently preferred to get rid of this connector in budget laptops.

ASUS R540SA also has a Bluetooth 4.0 module, which allows you to transfer data between devices at speeds of up to 1 Mbit/s.
Particularly noteworthy is the island-type keyboard, which allows you to quickly and easily type text without the risk of making a mistake when pressing keys, and a fairly sensitive touchpad with an increased area that supports some of the gestures. Of course, you shouldn’t expect that such a laptop will have the latest hardware installed.
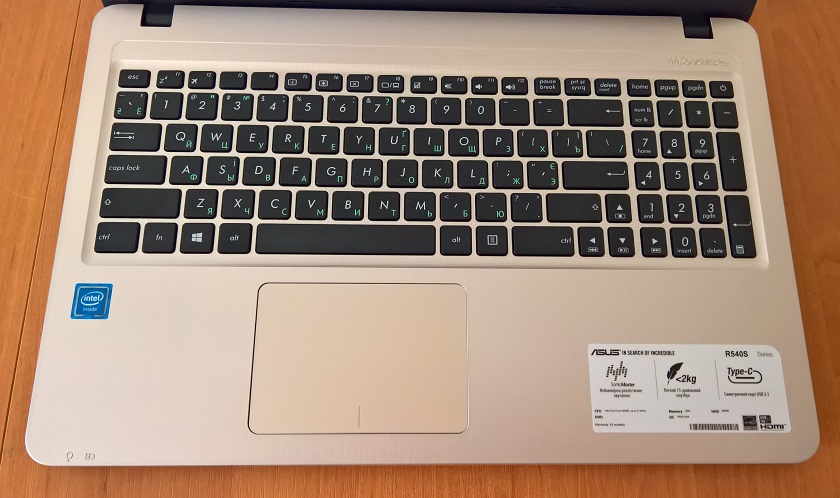
The 15.6-inch ASUS R540SA has a standard resolution of 1366×768 for an inexpensive laptop and a glossy surface, although it does not reflect much in the sun, which makes it comfortable to work on.
It is worth noting that ASUS developers were able to implement, even in such an entry-level laptop, a whole range of software and hardware designed to improve sound quality. Watching movies, TV series, videos and listening to music on it is a pleasure. He will definitely get his money's worth in this regard. But with the camera for video calls, everything is sad: it is only 0.3 megapixel resolution in our time!!! For me, such a camera is no longer very pleasant and convenient.
It's even worse with performance and memory. I understand that for such a price it’s still divine, but still. In a laptop, 2-core is responsible for performance Intel processor Celeron with maximum clock frequency 1.6 GHz (2.16 GHz Turbo Boost), 2 GB random access memory and integrated graphics Intel core HD Graphics. The processor is built on a modern 14-nm process technology, which means it does not heat up and has low power consumption. Okay, it's a mid-range processor, but in 2016, 2 GB of RAM is very little. I'm thinking about adding memory, but if the module is not soldered to motherboard. It's worth mentioning that it supports DDR3L 1.35V low voltage mode instead of the 1.5V that DDR3 typically uses.

The laptop has a non-removable lithium ion battery, which will allow you to work for up to 4 hours according to the manufacturer. I can tell from personal experience, which works up to 3 hours no more.
As you can see, I have a very average laptop and still without any operating system, the installation of which I want to tell you about later.
Installing Windows 10 Pro
I already wrote above that I haven’t installed an OS on such laptops for a long time, so it was very interesting how exactly new Windows 10 will cope with this task. I, from yours permissions, I will omit the details of preparing the ISO image of Windows 10. I have already written about this many times in my articles. I will only note that I have once again become convinced that no third-party utility other than MediaCreationTool is simply needed. It does an excellent job of installing the OS.
Since my laptop is completely naked and there is nothing on it, my first step was naturally to look into the BIOS. This has also been written and discussed many times. Let me just post a picture with possible key combinations for entering the BIOS for almost all laptops.

Having entered that same BIOS, our main and only task is in the section BOOT, which is easy to navigate using buttons up-down, right-left, find yours here bootable USB flash drive, which do not forget to insert into the connector laptop usb. Now you need to put it in system boot priority using the same keys up down, then press the key F10 And Enter. We kindly ask you not to click or change anything else in the BIOS.

You will know that the download has started when you see a page with a choice of interface language, country and operating system version. That is, the procedure is actually similar to a clean installation of Windows 10. But I had one nuance, the solution to which I want to tell you about. When selecting a disk to install the operating system, it turned out that I could not do this, since my disk partitions had the format MBR, and for installation you need GPT. Many people encounter this problem, so I think it is necessary to describe ways to solve it.

You can solve the problems of converting MBR and GPT partitions using Command line , which can be opened with a set of keys Shift+F10.You need to run the utility diskpart, then enter the command Listdisk to display a list of physical drives connected to your computer. Next, choose required disk from the list that appears with the command selectdiskN, Where N- the number of your disk you want to convert. It must be cleared by entering the command clean. All that remains is to enter the command convertgpt and the disk is ready to install the operating system. In the same way you can convert from GPT V MBR, changing the last word when converting. I also want to note that in recent years I have stopped partitioning my hard drive into separate partitions. I once asked this question on the Microsoft forum, to which I received an explanation that new HDDs/SSDs do not require special partitioning. While HDD drives are usually divided into partitions, many manufacturers do NOT recommend partitioning SSD drives. I predict your reaction to this phrase and therefore point out that NOT recommended does not mean IMPOSSIBLE. It all depends on your personal desires and needs. Everything works fine for me without dividing into sections and there have never been any force majeure circumstances.
I was very pleased that the installation took me no more than 40 minutes. Just answer the questions and click next. There is one observation: recently, when installing Windows 10, the system asks you to enter instead WI-FI password router PIN code, which can be easily found on the body of your device. I don’t know what this is connected with, but the fact remains a fact. And I highly recommend that when installing Windows 10, you must have access to the Internet. The reason for this request is very prosaic: if there is an Internet connection, then Windows 10 installs the drivers itself, providing digital signature. Simply put, you don’t have to dig through manufacturers’ websites to search for necessary drivers. Forget it if you bought it new laptop, even without an installed operating system.
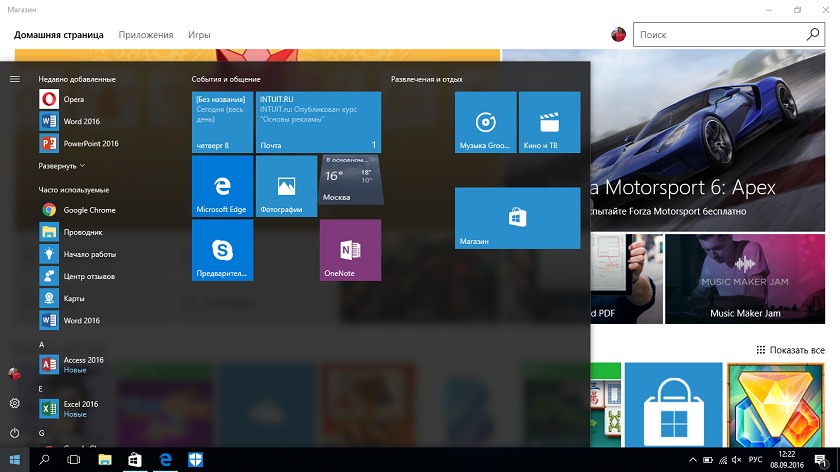
After a while, the desktop will open and everything will be downloaded to your laptop. preinstalled programs and applications from Microsoft, which means you can safely use your device.
Activating Windows 10 with a Windows 8 license key

As I said above, after installation the Desktop opened, the system works fine, but it needs to be activated. This can be done in two ways: when the system asks you to enter the key during activation itself (I simply skipped this point) or through Settings-Update and Security-Activation. Since I did not have a Windows 10 activation key, I decided to try to activate the OS using the Windows 8 activation key, which had been quietly waiting in the wings for 3 years. I read that there is such a method, but I had to check it.

To my surprise, everything went smoothly and without surprises. Literally a minute later, my Windows 10 Pro was activated, which was eloquently written about in the Activations section. That is, there is also this method of activating Windows 10. I don’t know how long this loophole will exist, but it saved me a decent amount.
How Windows 10 Pro works on a budget laptop
For almost a week now, I have been working daily on a new laptop: writing articles, making presentations, communicating on in social networks, read news on portals, etc.

Of course I don’t play on it, I rarely play games at all. I can say with full responsibility that the laptop copes with its task “excellently”. Yes, it's slower than the Surface Pro 3, and it lacks RAM and doesn't have a very fast processor, but it's worth the money. In today's economic crisis, if you set it up correctly and don't expect anything supernatural from it, you can easily buy budget laptop For home use and studies. Windows 10 works great on it and copes with all the necessary to the average user tasks. It is important to configure the system correctly, do not download programs from unfamiliar resources, and do not search for drivers and utilities. And then using Windows 10 will only bring joy.
Installing the operating system on any computer device is not a labor-intensive or complicated process. The greatest attention should be paid to preparation for installation, for example, copying and transferring existing information that needs to be saved.
Any user who decides to install or reinstall the operating system on a laptop independently should make sure that all the necessary drivers for the laptop are available before starting the installation. specific model laptop. If the laptop is new, then it must include installation disks. If there are no disks, then the drivers can be downloaded from the official website of the device manufacturer. If you reinstall the OS, you must copy important files to a non-system partition of the hard drive or to another medium (CD, flash drive, removable hard disk, etc.). Install the media that contains the installer. Restart the laptop and immediately after turning it on and before loading the operating system, if it was previously installed, go to Bios, to do this use the “Del” or “F2” buttons.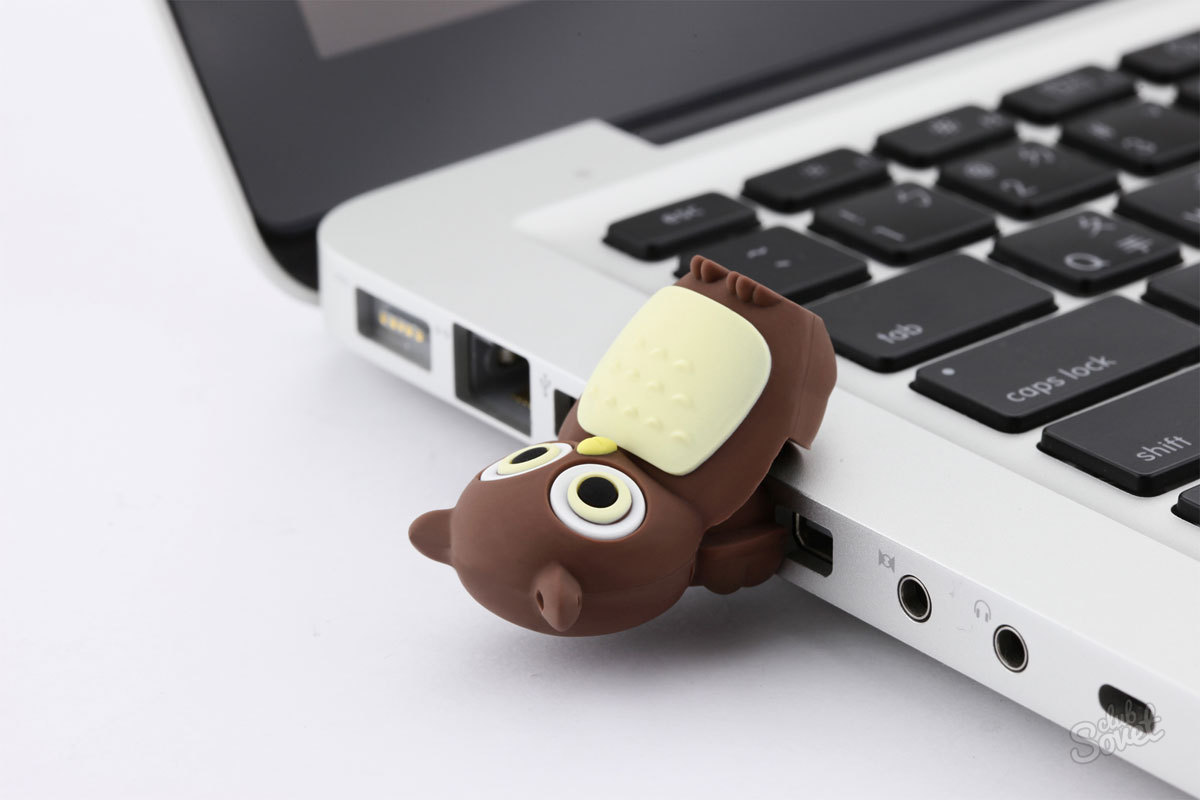


After the installer completes, you need to insert media with files containing drivers for each device in the laptop (sound and network cards, video card, etc.), and make final settings.