InstallShield
To automatically install an application that uses InstallShield, you must first create a file setup.iss on a working OS.
- Run the application from the command line using the /r switch (for example, Setup.exe /r )
- The installation process will begin, you will answer questions - everything is as usual. The main thing is not to select the option to restart the computer immediately after installation (“Restart the computer now”)
- After installation is complete, go to your system directory (C:\Windows) and extract the file from there setup.iss. Before automatic installation, place the file in the directory where your program is located.
In principle, it is enough to run automatic installation applications this way:
Finally, there is just a small note - of course, installed programs installations are fully satisfied. The biggest advantage described software is exceptional convenience and ease of use combined with high functionality.
Unlike other such programs, installer creation is performed completely automatically through a built-in wizard. There is also the option to manually edit each property. More detailed information can be found on the program website. Each of the created installers contains a page with information that is an incentive to purchase the paid version. This is the only inconvenience introduced by the manufacturer - there are no restrictions on functionality. This is a demo version - for professional use you must purchase a license. The registered professional version is the version created specifically for professional use, especially for people who create shareware and create recordable demos of their programs. For example, one version is for unregistered users, and another for registered users with the ability to provide it with a registration code and other interesting features. This is described in more detail in the properties section below. To be able to use my location pack, you must first download the appropriate version of the program and optionally purchase a license. Only after correct installation software and the possible purchase of a license to use it, you can install my turbo package. The Polish interface and fully polished documentation simplify the work and make it even more efficient and intuitive. Please be aware that this is an unofficial location pack. By installing the Polish location pack, you agree to this and do so at your own risk. This information is provided at the end of our application installation process. . Use these instructions to create a local test and development environment.
start /wait %systemdrive%\install\setup.exe /s
The problem is that the installer splits into two processes and closes the first one, so start /wait runs in vain. You'll probably want to put this command in a batch file that installs other applications as well. In this case, it is more correct to use the /sms switch, which will force the installer to wait until the application is installed. So the command would look like this:
- It will only install what you are missing.
- Save this password.
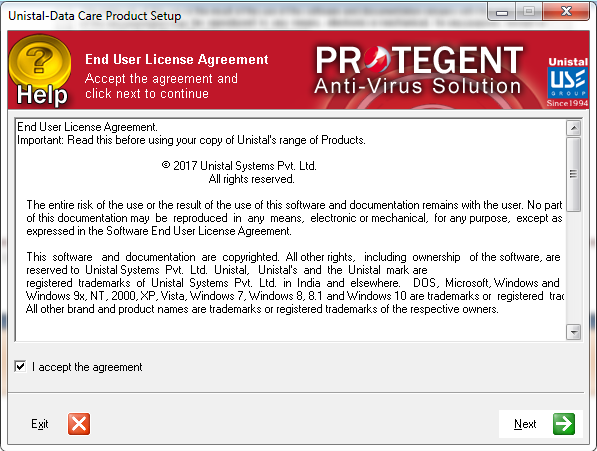


Step 8: First you will be asked to read about the minimum system requirements, and then confirm that you agree to the end user license terms.
start /wait %systemdrive%\install\setup.exe /s /sms
Installing InstallShield applications using the RunOnceEx method from a CD
When installing applications that use InstallShield using the RunOnceEx method from a CD, you must specify the path to the log file (*.log). For example, below are the commands for installing Kerio Personal Firewall. The path to the log file is highlighted.
REG ADD %KEY%\045 /VE /D "Kerio Personal Firewall 2.1.5" /f
REG ADD %KEY%\045 /V 1 /D "%CDROM%\apps\KPF\Setup.exe -s -f2\"%systemdrive%\kerio.log\""/f
How do you know if InstallShield is used to package your program?
Most of them can be extracted from the installer, in properties installation file(which, by the way, is always called setup.exe) will be something like "InstallShield (R) Setup Launcher", and finally the presence of the setup.iss file in the system directory will dispel all doubts.

You will be asked to confirm the target directory, that is, where the program files will be saved. The program will choose this automatically or create a new directory if it does not already exist. 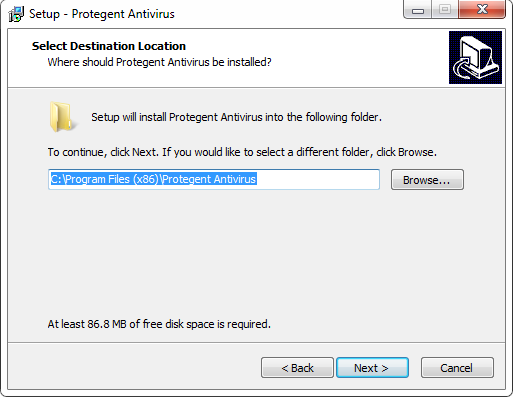
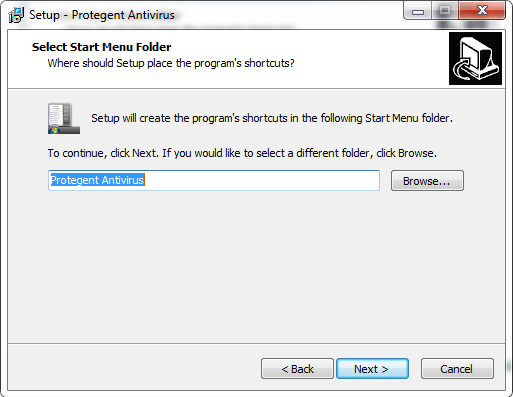
Step 10: It will take you to the Select Start Folder window to place the program shortcuts.


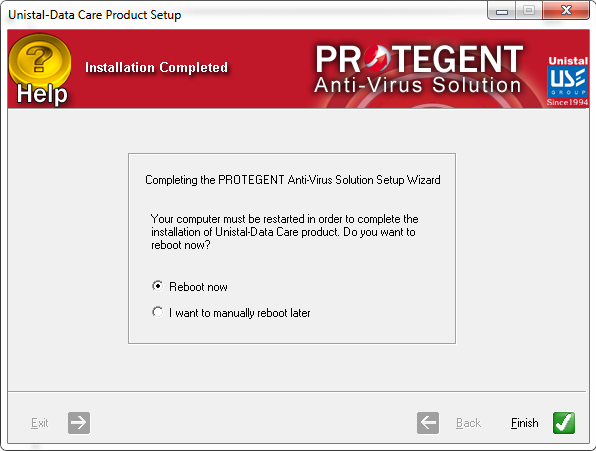
Step 13: The installation progress will be displayed as a green progress bar as shown in the screen below. 
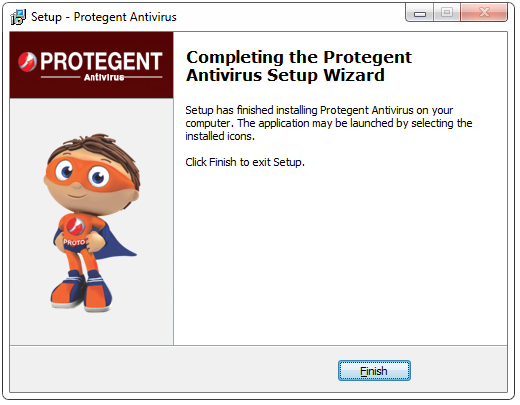
With this, the installation task was completed. Once the installation is complete, the installer will ask the user to reboot now or later. When the system restarts, all services of the antivirus solution are enabled.
Windows Installer Service (*.msi)
If your file has a *.MSI extension, then it was packed when Windows help Installer. These files can be installed with the /qb and /qn switches. In short, /qb and /qn are similar. The first will show the installation progress, and the second will completely hide all windows and silently install the application. If you want to display the installation progress, but not show the Cancel button, eliminating the possibility of the user interrupting the installation, then use the /qb- switch! .
It will display the license registration page as shown below. Step 18: Copy and paste the license number under the username and password tab in the passwords tab respectively. After this, it will automatically activate your license. There are several download options available, each of which looks like this.
Night does not include new features. Night is available for download and installation. If you have been affected by a bug that is fixed in the nightly version, then it is safe to use the nightly version. They are mainly used for development purposes to help us test upcoming releases.
Some applications require you to restart your computer after installation. To avoid this, use the REBOOT=ReallySuppress property along with /qn or /qb , enclosing the entire expression in quotes. For example:
setup.msi "/qn REBOOT=ReallySuppress"
InstallShield with MSI
Since version 7 InstallShield is capable of producing MSI files. Applications can be in the form of separate MSI files or come with installer setup.exe. The latter, in turn, come in two types: “InstallScript MSI” and “Basic MSI”. InstallScript MSI uses traditional keys. Basic MSI is a different story.
Choose an installation method that you understand and like. For most users the default settings required are sufficient, if not, change them accordingly if you are sure what you need. Once the installation starts, simply follow the steps shown on the screen. . The following video guide can help you with this installation process.
There are no changes or limitations in this version. The store version brings several benefits such as automatic update. This gives the user the ability to install multiple instances of the same version or multiple different versions. Remember the following. Before upgrading, make sure your hardware is compatible minimum requirements.
- There is no need to uninstall the previous version.
- If you're happy with your current setup, installing "on top" is fine.
- Do not update without creating backups.
To automatically install an application that uses Basic MSI, you need to specify the /s /v"..." switches. The ellipses need to be replaced with the keys you want to pass directly Windows Installer(msiexec). In other words, if you want to install the application completely quietly and avoid rebooting, then use this command
setup.exe /s /v"/qn REBOOT=ReallySuppress"
Inno Setup
Applications packaged in the free Inno Setup support the /SILENT and /VERYSILENT switches (the only difference is that the second one does not show a progress bar during installation)
setup.exe /VERYSILENT
There is a small problem. You'll want to get rid of the window asking if you want to continue with the installation:
To suppress this window, use the following key:
setup.exe /VERYSILENT /SP-
There is one more problem left. Some installers Inno Setup will try to launch the program after installation is complete. ISOBuster is just such a case. Then you have to kill the process using the Taskkill utility built into Windows XP. Below is an example code for installing ISOBuster:
ECHO.
ECHO Installing ISOBuster 1.4
ECHO Please wait...
start /wait %systemdrive%\install\Applications\ISOBuster\IsoBuster14.exe /VERYSILENT /SP-
ECHO.
ECHO Killing ISOBuster.exe processtaskkill.exe /F /IM isobuster.exe
ECHO.
Note. The Taskkill utility is not included with Windows XP Home. Instead, you can use the PsKill utility, which is part of PsTools from Sysinternals. The syntax of the utility is very simple. Continuing with the IsoBuster example, the command to terminate the process would look like this.
pskill.exe -t isobuster.exe
You can read more about InnoSetup keys at the OSZone conference (thank you,).
How do you know if Inno Setup is used to package your program?
When starting the installer, in the very first window, click on the icon on the left top corner and select About Setup from the menu.

Nullsoft Scriptable Install System (NSIS)
Applications that use the free one are launched with the -S key (for example, Setup.exe /S). You can also use the /D switch to specify the installation directory. Below is an example of installing the CD-ex program:
Setup.exe /S /D=E:\Software\7-zip
The Winamp and CDex applications display a dialog box indicating that the installation is complete. It's not clear how to get around this, but it won't affect other batch commands. I note that CD-ex can be installed without an installer.
How do you know if NSIS is used to package your program?
See the screenshot, it is approximately the same for all applications

WISE Installer
Programs packaged with WISE Installer use the /s key. All you need is
How can you tell if WISE Installer is being used to package your program?
Most will show a splash screen at the beginning of the installation
Others may expand the window with a dark blue background to fill the entire screen, displaying the installation window in the center.
The installer is a command-line program that allows you to install and remove server resources by executing installer components in the appropriate assemblies. This program works in conjunction with classes in the .
This program is automatically installed with Visual Studio. The program can be run from the developer command line (or from the Visual Studio command line on Windows 7). For more information, see .
IN command line enter the following.
installutil ] assembly [ assembly ] ...
Options
| Parameter | Description |
|---|---|
| /h | Displays the syntax of program commands and parameters. |
| /help assembly /? assembly | Displays Extra options, recognized by individual installers within a specified assembly, along with the command syntax and parameters for the InstallUtil.exe program. This option adds the text returned by each Installer component property to the Help text of InstallUtil.exe. |
| /AssemblyName " assemblyName Version= major.minor.build.revision Culture= locale PublicKeyToken= publicKeyToken" | Specifies the strong name of the assembly that you want to register in the global assembly cache. The assembly name must include the version, culture, and public key token of the assembly. The full name must be enclosed in quotation marks. For example, "myAssembly, Culture=neutral, PublicKeyToken=0038abc9deabfle5, Version=4.0.0.0" is the fully qualified name of the assembly. |
| /InstallStateDir=[ directoryName ] | Specifies the directory of the InstallState file that contains the data that is used to remove the assembly. The default is the directory containing the assembly. |
| /LogFile= [ filename] | Specifies the name of the log file that records installation progress. By default, if the /LogFile parameter is not specified, a log file named assemblyname.InstallLog. If the parameter filename is not specified, no log file is created. |
| /LogToConsole =( true | false ) | If the value is true , the output is displayed on the console. If the value is false (the default), no output is written to the console. |
| /ShowCallStack | If an exception occurs during installation, the contents of the call stack are written to a log file. |
| /u [ninstall] | Removes the specified assemblies. Unlike other options, /u applies to all assemblies, regardless of where the option is specified on the command line. |
Individual installers used in the assembly may recognize other parameters besides those listed in this section. To learn about these options, run InstallUtil.exe with the assembly paths on the command line and the /? or /help . To set these options, you must include them on the command line along with the options recognized by InstallUtil.exe.
All command line parameters are written to the installation log file. However, if you use the /Password option, which is recognized by some installer components, the password information will be replaced with eight asterisks (*) and will not appear in the log file.
.NET Framework applications consist of traditional program files and associated resources, such as message queues, event logs, and performance counters, that are generated when the application is deployed. Assembly installer components can be used to create such resources when an application is installed and to remove them when the application is uninstalled. Installutil.exe detects and runs these installer components.
You can specify multiple assemblies at once on the command line. Parameters must appear before the names of the assemblies whose installation they apply to. With the exception of /u and /AssemblyName , the options are cumulative but overridden. That is, the settings specified for one assembly apply to all subsequent assemblies. The exception is the parameters with which a new value is specified.
When you run Installutil.exe for an assembly without specifying any parameters, it places the following three files in the assembly directory.
InstallUtil.InstallLog - contains general description installation progress.
assemblyname.InstallLog - Contains information related to the commit phase of the installation process. For more information about the commit step, see the method description.
assemblyname.InstallState - contains data used to remove the assembly.
Installutil.exe uses reflection to examine the specified assemblies and find all types that have an attribute value of true. A program that executes a method or for each instance of type . Installutil.exe performs installation as a transaction, meaning that if any assembly fails to install, installation of all other assemblies is canceled. Deleting is not considered a transaction.
Installutil.exe cannot install or remove lazy-signed assemblies, but it can install and remove strong-named assemblies.
Starting with .NET Framework versions 2.0, the 32-bit version of the CLR comes with only the 32-bit version of the installer, but the 64-bit version of the CLR comes with both the 32-bit and 64-bit versions of the installer. If you are running a 64-bit CLR, use the 32-bit installer to install 32-bit assemblies, and the 64-bit installer to install 64-bit CIL assemblies. Both versions of the installer behave the same.
Installutil.exe cannot be used to deploy a Windows service written in C++ because Installutil.exe cannot recognize the native machine code generated by the C++ compiler. When trying to expand Windows service written in C++, an exception occurs using the Installutil.exe program, for example. To work with this scenario, move the service code into a C++ module and create an installer object in C# or Visual Basic.
The following command displays a description of the command syntax and parameters for the InstallUtil.exe program.
The following command displays a description of the command syntax and parameters for the InstallUtil.exe program. It also displays for myAssembly.exe a description and list of options supported by installer components if the installer property has been set to help text.
installutil/? myAssembly.exe
The following command runs the installer components in the myAssembly.exe assembly.
installutil myAssembly.exe
The following command executes the installer components in an assembly using the /AssemblyName switch and the fully qualified name.
installutil /AssemblyName "myAssembly, Culture=neutral, PublicKeyToken=0038abc9deabfle5, Version=4.0.0.0"
The following command runs the installer components in the assembly specified by filename and in the assembly specified by strong name. Note that all assemblies specified by file name must precede assemblies specified by strong name on the command line because the /AssemblyName parameter cannot be overridden.
installutil myAssembly.exe /AssemblyName "myAssembly, Culture=neutral, PublicKeyToken=0038abc9deabfle5, Version=4.0.0.0"
The following command runs the uninstaller components in the myAssembly.exe assembly.