DIY USB extension cable
Let's say you want powerful computer for gaming or work, but don't want to endure the slightest noise.
Or do you want to use one desktop computer both in the room and in the kitchen.
Or your familiar CEO, fearing a “mask show,” wants to keep the accountant’s computer not under the accountant’s desk, but on the floor above, with a third-party individual.
What to do? Take long wires and, depending on the situation:
Move the computer to the hallway, closet or balcony, where it will make noise for its own pleasure without disturbing you;
- or one floor higher to a neighbor, where he will be relatively safe from invaders;
- or put the computer in the room, and run additional wires to the kitchen (or vice versa).
The question is, where can I get long wires? And you only need two of them: HDMI and USB. A ten-meter HDMI is not a problem; you can buy it at Yulmart for 370 rubles. It is not difficult to find longer ones on sale. Next we will talk about how to make a ten-meter USB 2.0 extension cable yourself (if this is not enough and five meters are still not enough, use wireless mouse and keyboard). Theoretically, you can buy a cable with a signal amplifier TU2-EX12, but it is sold in some unfamiliar stores; it was easier for me to make it myself.
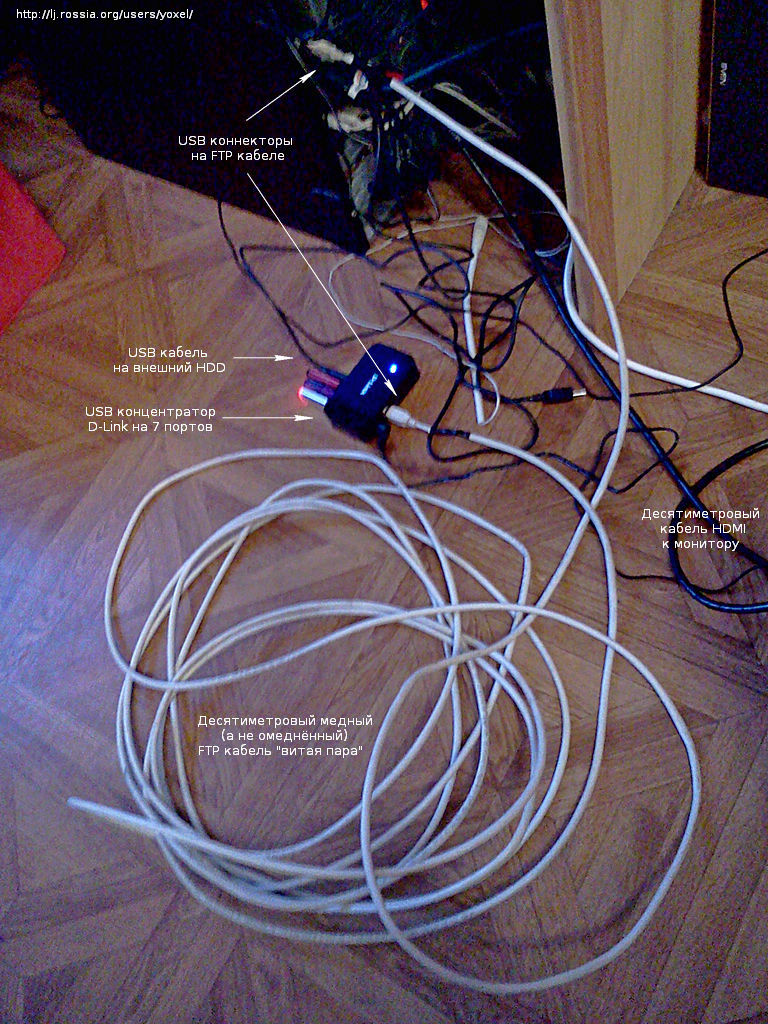
1. The USB extension cable will be plugged into the computer at one end, and at the other end there will be USB hub, where we will plug in flash drives, mice, boxes with HDD, printer and others USB devices. I recommend the well-proven D-Link DUB-H7 7-port. It’s a pity that it unexpectedly increased in price, until recently it cost 640 rubles.
2. Depending on what input the hub has, we take a printer cord (AM-BM) or a simple USB extension cable (AM-AF). The required cord usually comes with the hub. Cut off the ends and throw away the rest.
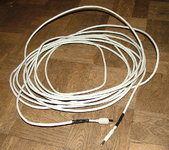
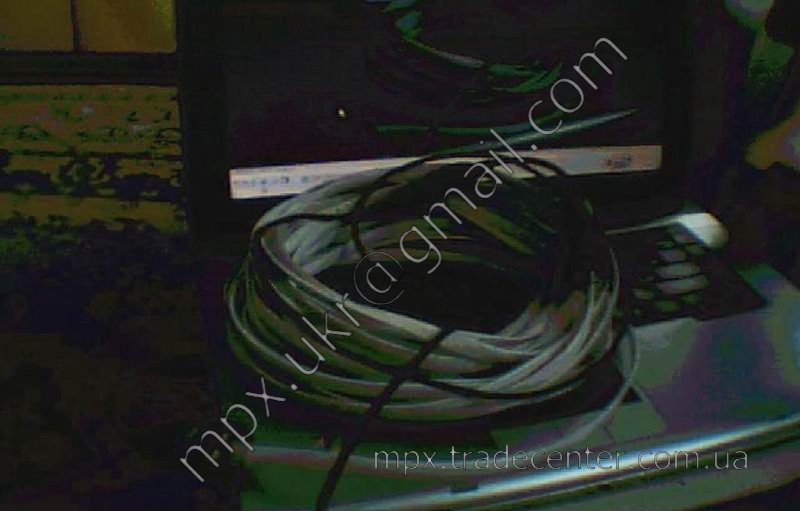
![]() 3. We borrow from a system administrator friend or buy 10 meters of FTP-type twisted pair cable (in foil) and strip the ends for soldering.
3. We borrow from a system administrator friend or buy 10 meters of FTP-type twisted pair cable (in foil) and strip the ends for soldering.
4. The wiring diagram is clear from the figure (pictures enlarge by clicking). In my USB cable the colors of the wires were black, green, white and red. The figure shows H, Z, B, K. That is, the FTP cable was soldered to USB using this layout: 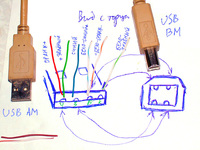
In the picture, the white-orange wire is in error, see the table! (Thank you e_mission@lj for the correction)
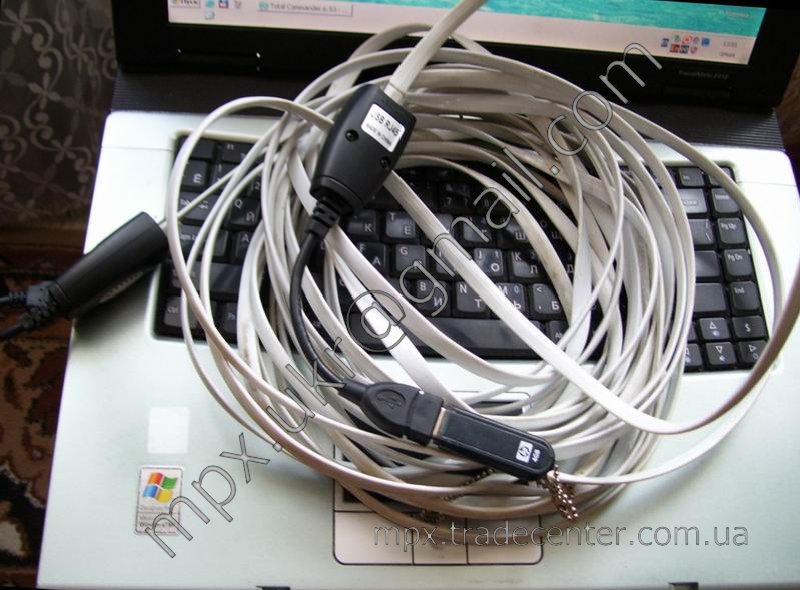
 5. It’s good if you have a thin heat-shrink tube for each core of the USB connectors, so as not to bother with electrical tape. Soldered wires and finished extension cord:
Tests:
Copying files to a USB hard drive. The copying speed lasts up to 100 megabytes per second, but at the end of the file the copying process may freeze for 2-3 seconds, causing the copying speed to decrease, but then increase again:

The check showed that there were no copying errors:

Without a hub to supply power to connected devices, the voltage drop in the cable takes its toll. Old laser printer it worked without problems, but the scanner, which did not have its own power supply, was detected every other time and could not scan at all.
upd: more correct tests and conclusions
Let's say you want a powerful computer for gaming or work, but you don't want to tolerate the slightest noise.
Or you want to use one desktop computer both in the room and in the kitchen.
Or your familiar CEO, fearing a “mask show,” wants to keep the accountant’s computer not under the accountant’s desk, but on the floor above, with a third-party individual.
What to do? Take long wires and, depending on the situation:
Move the computer to the hallway, closet or balcony, where it will make noise for its own pleasure without disturbing you;
- or one floor higher to a neighbor, where he will be relatively safe from invaders;
- or put the computer in the room, and run additional wires to the kitchen (or vice versa).
The question is, where can I get long wires? And you only need two of them: HDMI and USB. A ten-meter HDMI is not a problem; you can buy it at Yulmart for 370 rubles. It is not difficult to find longer ones on sale. Next we will talk about how to make a ten-meter USB 2.0 extension cable yourself (if this is not enough and five meters are still not enough, use a wireless mouse and keyboard). Theoretically, you can buy a cable with a signal amplifier TU2-EX12, but it is sold in some unfamiliar stores; it was easier for me to make it myself.
1. The USB extension cable will be plugged into the computer at one end, and at the other end there will be a USB hub into which we will plug flash drives, mice, boxes with HDDs, a printer and other USB devices. I recommend the well-proven D-Link DUB-H7 7-port. It’s a pity that it unexpectedly increased in price, until recently it cost 640 rubles.
2. Depending on what input the hub has, we take a printer cord (AM-BM) or a simple USB extension cable (AM-AF). The required cord usually comes with the hub. Cut off the ends and throw away the rest.
![]() 3. We borrow from a system administrator friend or buy 10 meters of FTP-type twisted pair cable (in foil) and strip the ends for soldering.
3. We borrow from a system administrator friend or buy 10 meters of FTP-type twisted pair cable (in foil) and strip the ends for soldering.
4. The wiring diagram is clear from the figure (pictures enlarge by clicking). In my USB cable the colors of the wires were black, green, white and red. The figure shows H, Z, B, K. That is, the FTP cable was soldered to USB using this layout:
In the picture, the white-orange wire is in error, see the table! (Thank you e_mission
for the correction)
5. It’s good if you have a thin heat-shrink tube for each core of the USB connectors, so as not to bother with electrical tape. Soldered wires and finished extension cord:
Tests:
Copying files to a USB hard drive. The copying speed lasts up to 100 megabytes per second, but at the end of the file the copying process may freeze for 2-3 seconds, causing the copying speed to decrease, but then increase again:
The check showed that there were no copying errors:
Without a hub to supply power to connected devices, the voltage drop in the cable takes its toll. The old laser printer worked without problems, but the scanner, which did not have its own power supply, was detected every other time and could not scan at all.
upd: more correct tests and conclusions
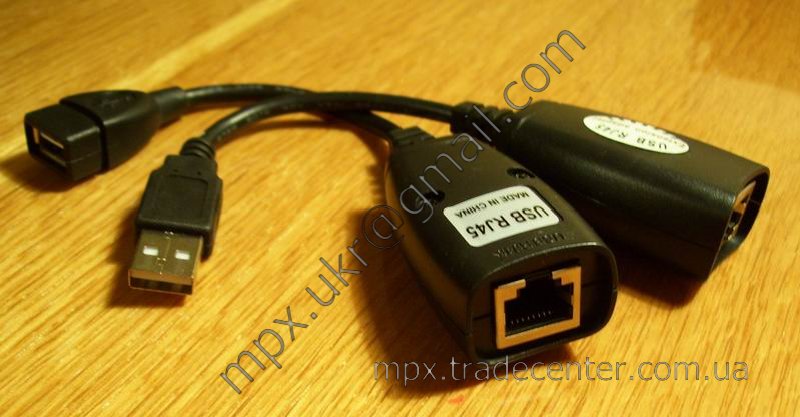
Recently I came across a rather interesting device: activeUSB extension cable, orRJ45Extensionadapter At the same time, the seller promised that with the help of this device, I would be able to lengthenUSB cable, connected to a computer, up to 45 meters. I didn’t immediately appreciate the full potential of this device, and it never occurred to me that I could connect such a smart device to a computer at a distance of 45 meters. ) However, I became very interested in the capabilities of the device. And I started connecting and subsequent tests. But first things first….
So, in the package this device as follows:
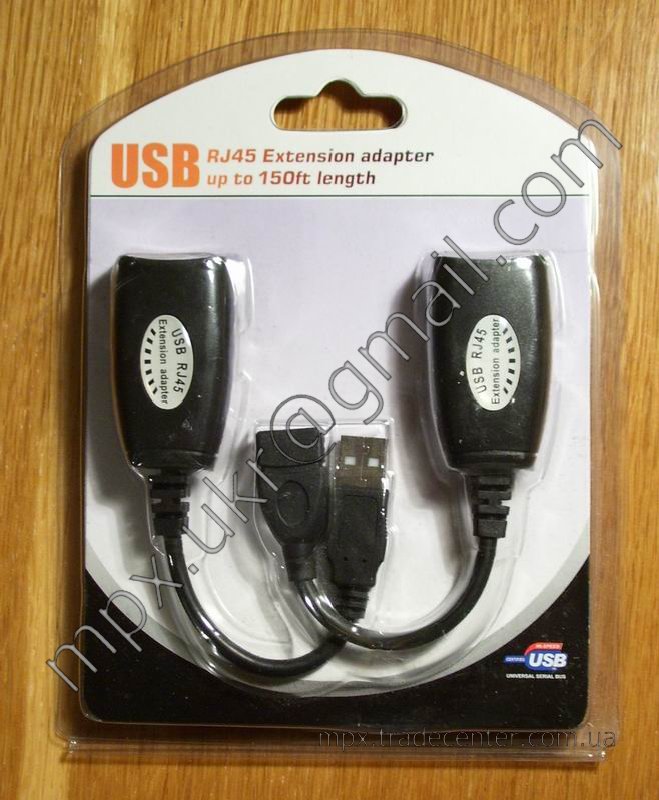
On the packaging we see the inscription: RJ45 Extension adapter up to 150ft length. What does it mean RJ45 extension cable up to 150 feet or 45 meters.
The back of the package looks like this:
![]()
The inscriptions say the following:
Thisallows you to connect to your computerUSB devices up to 150 feet (45 meters) away usingCat5/Cat5e/Cat6 cable, which is not included. This adapter allows you to extend yourUSB cameras, printers, web cameras, keyboards and mice at the required distance, without moving the computer.
We can also read below that this device does not require any external source nutrition.
The kit includes:
- basic male connector
- remote female connector
- package
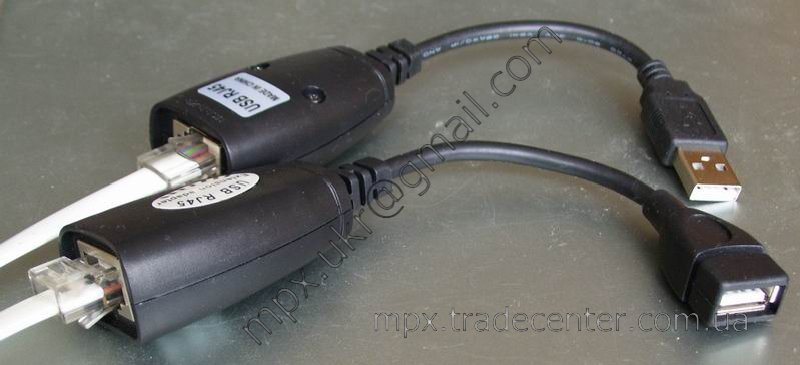
We take it out of the packaging ourselves extension, let's take a closer look:
How to use an active USB extender?
So, it's time to use this device and run some simple tests.
For this we need:
- computer with USB output 2.0
- activeUSB extension cable over twisted pair
- network cable 10m (only this length was at hand)
- usb flash drive
- Webcam.
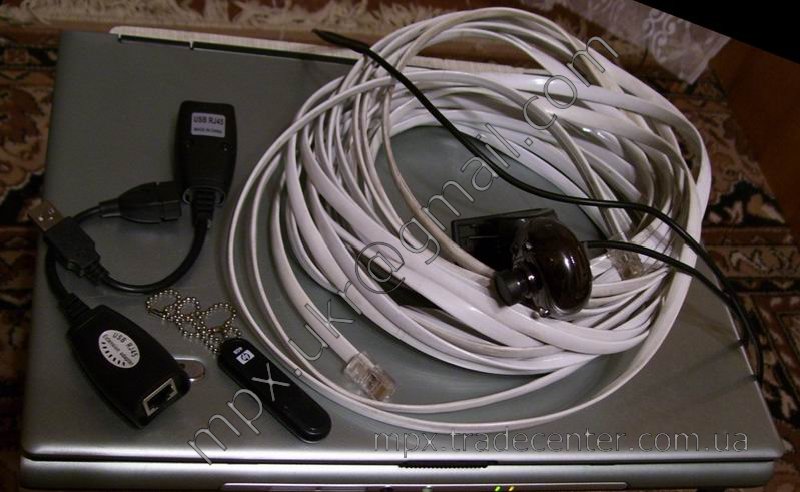
During the test, we will assemble the device and use it to connect a webcam to the computer. If everything goes well, then we’ll connect a flash drive to the computer and check its read/write speed with and without an extension cable to see if it makes any changes to the usb work devices.
Assembling a USB extension cable.
Assembled USB extender there is nothing special. The whole process becomes clear upon first inspection of the device. Yes, we will need one USB extension cable, which consists of 2 parts and a network cable ( twisted pair). Connecting both parts activeUSB extender using a network cable.
We connect the webcam via an active USB extension cable
First, let's try connecting a web camera to the computer using an extension cord. To do this, connect the camera to extension cord, And you extension connect to the computer.
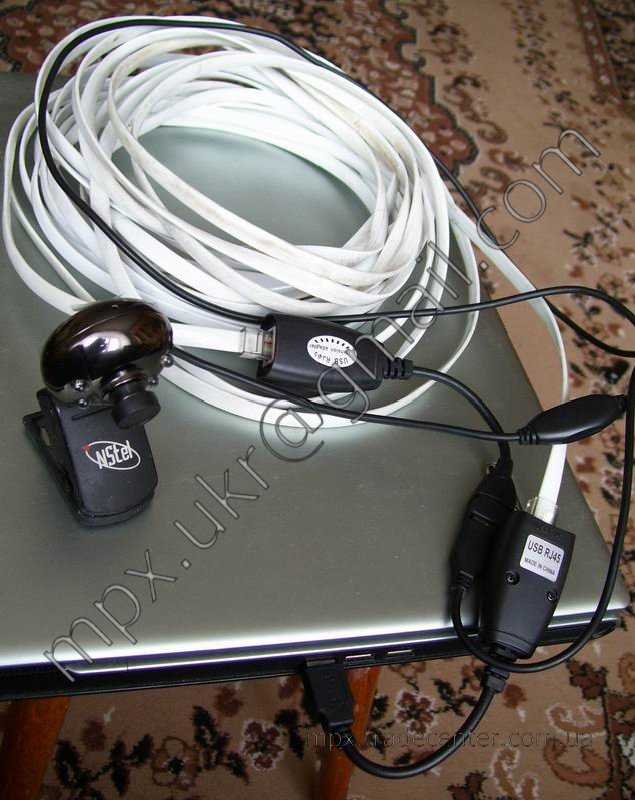
The computer detects the camera, and the camera can be used almost immediately. Separately, I would like to note that the computer is already “familiar” with this camera. When working with the camera, I do not notice any presence extension cord in the connection between the camera and computer. Next, I take a photo with the webcam itself, connected via extension, the entire connection.
With webcam extension It works fine, no comments yet.
Testing a USB extension cable.
Now let's try connecting a USB flash drive to the computer.
The computer detects without any problems removable drive, disk navigation, file reading occurs without any freezes or delays. It seems like everything is fine. To complete the picture, I decide to test the flash drive with and without extension cord with the help already described on this site.
![]()

As can be seen from the test results, the read/write speed to flash memory when used USB extender, drops significantly, but at the same time I would like to note that the connection remains stable and there are no breaks or interruptions in operation extension cord were not found.
conclusions
My review and small tests of the device confirm its performance and suitability active USB extension cord, for use in certain systems. Personally I plan to use something like this extension, to develop a simple video surveillance system for the landing. In the comments, I will be glad to read your use cases active USB extender.
It would be more correct to say. In general, OTG is a technology for expanding functions and USB capabilities(serial interface for connecting peripheral devices). IN in this case this is USB 2.0. The ideal design option for a flash drive will be when it has one side standard USB connector, and on the other micro USB. Which, however, I personally haven’t encountered yet. So I use an OTG adapter.
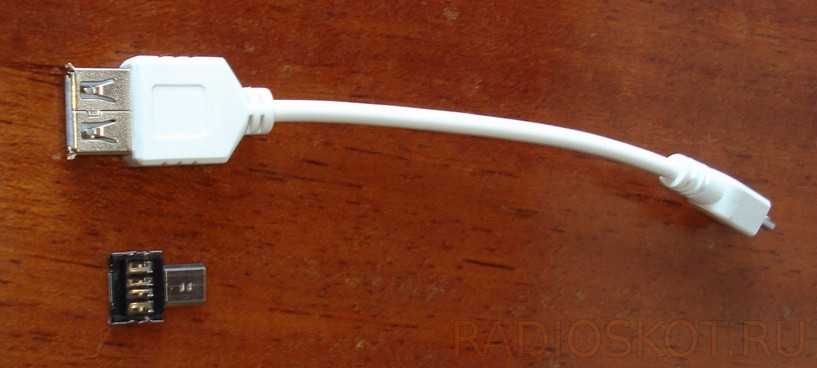
Fortunately, it was included in the standard package of the purchased one. From the very beginning, clearly understanding that I would be completely useless without it, I use it carefully and never take it out of the house. I also hide it from cats, but that’s a different story. At the same time, I don’t really like this adapter. The flexible cable, albeit of short length, allows the flash drive to move freely in all planes and... in short, dangles on all four sides, but especially strives to be placed on the side of the screen. Shake it harder so she touch screen will split.

Suddenly I came across this adapter on AliExpress. Visually, of course, it is difficult to determine how functional and “viable” it is, but I definitely liked it. I paid for four pieces. What you can see in the top screenshot is the cost of the product at the time of its receipt, a month later. Now for 4 adapters the seller wants 3 dollars. Then their cost, at the time of order, was 80 cents. It is not difficult to guess that many people liked the product and there are plenty of orders for it.
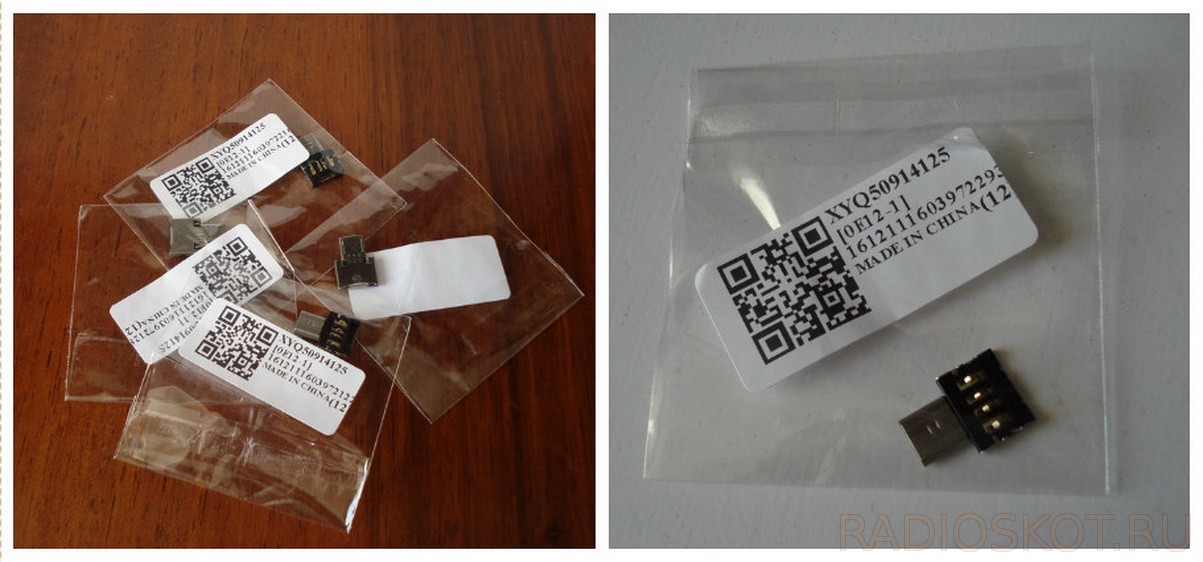
And now, after a month in mailbox I found a square envelope - a parcel post. It contains four individually sealed clear cellophane bags with adapters. Each has a label indicating the country of origin and product designation XYQ50914125.
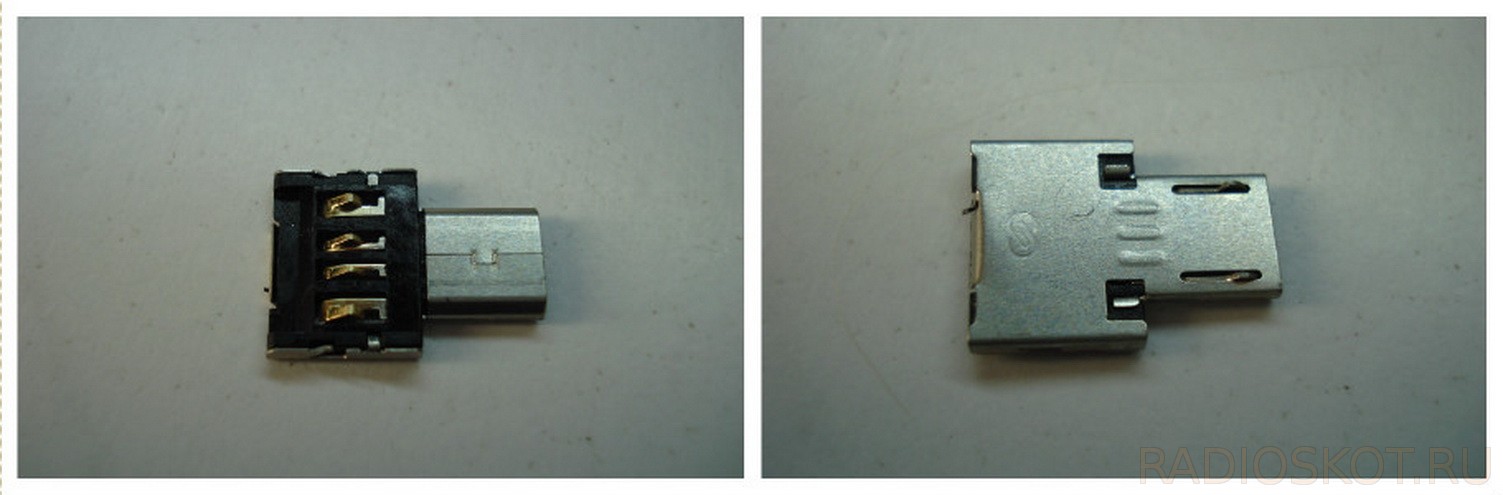
The photo shows the adapter itself, one would like to call it tiny, the overall dimensions are 15 x 12 x 2 mm. Structurally designed on one side as an insert for a standard USB plug, and on the other hand, the plug itself, but already mini USB. The outer, base shell of the plug is metal. Inside is a plastic element with metal contacts enclosed in it, coated in a pale yellow color.
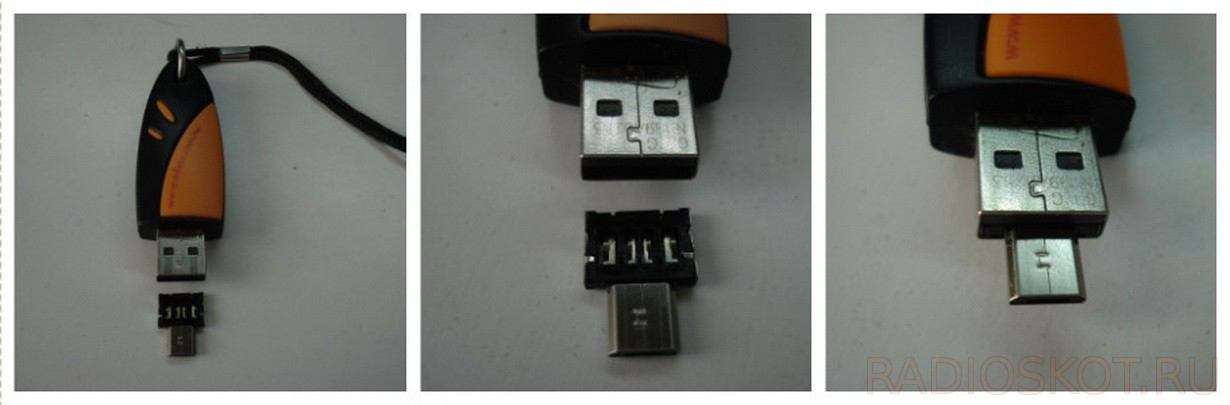
The process of bringing the adapter into working position - installing it inside a standard USB plug, in this case a flash drive, is extremely simple. You take it and insert it, but at the same time it is necessary to control the alignment of the contacts inside the USB plug and the contacts of the adapter, because the latter fits into the plug without interference in both positions, both in the correct and in the incorrect one. So if the flash drive is installed in the tablet slot and does not function, then the first thing you need to do is check that the adapter is installed correctly. Yes, this is a defect, but it is not a defect of the manufacturer; the existing design of the USB plug does not provide an unambiguous installation option.
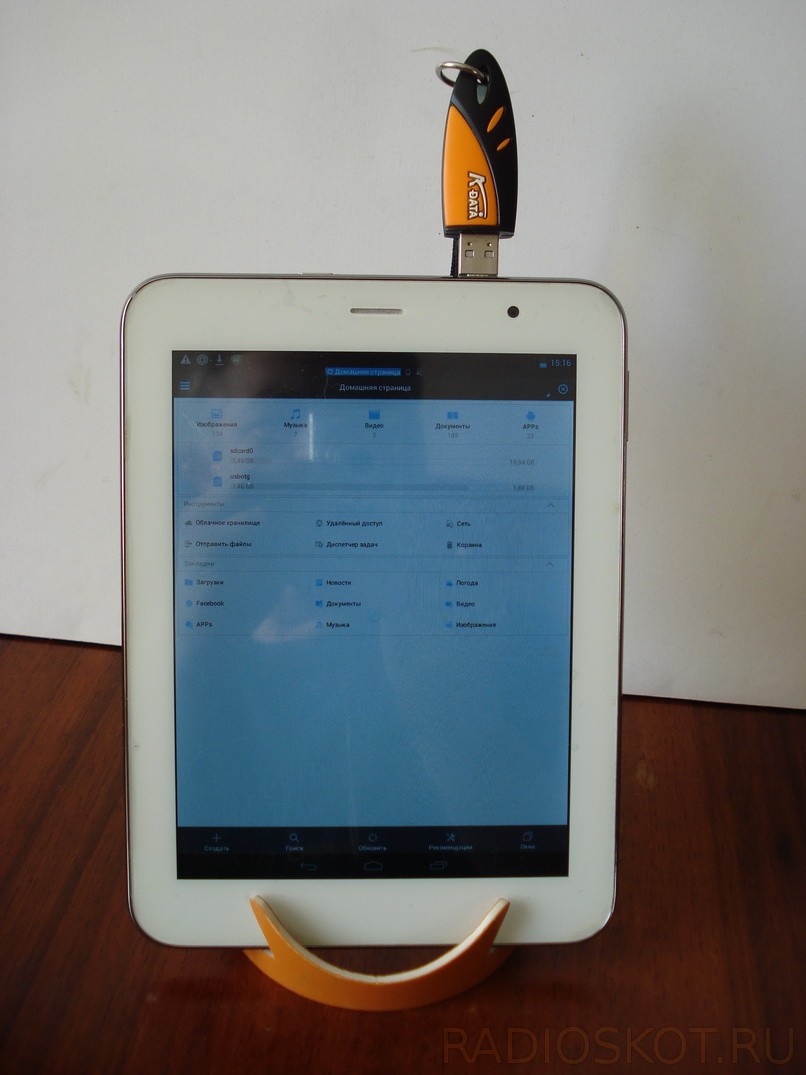
This is the spatial location of the flash drive relative to tablet computer looks familiar and more natural. Rigid fixation is always preferable. The connection process is easier and faster. During operation, there are no negative moments of a distracting nature caused by arbitrary movements of the flash drive as on a cable adapter.
Two different versions of the OTG adapter. The only advantage of the cable option is that it is harder to lose and easier to find. The compact version puts the opponent to shame simply because it allows you to place the external drive as close as possible to the device using it, which ensures 100% and unconditional stability of operation. I recommend purchasing an adapter. Author Babay iz Barnaula.
Discuss the article REVIEW OF COMPACT USB OTG ADAPTER